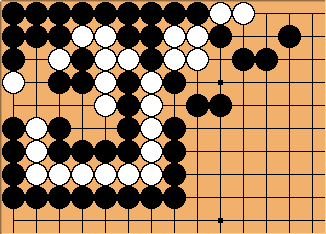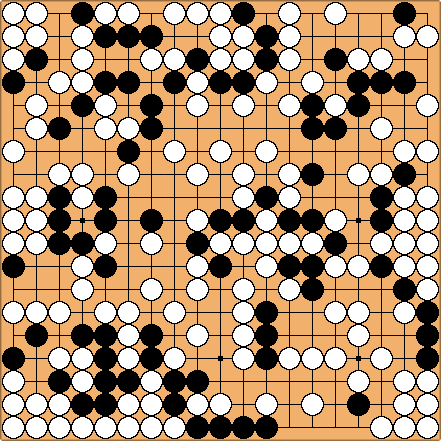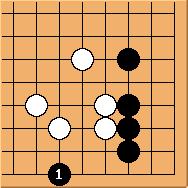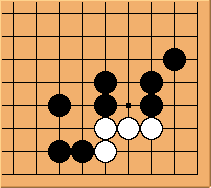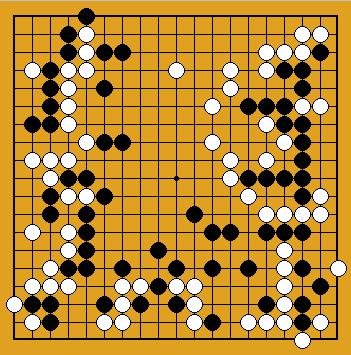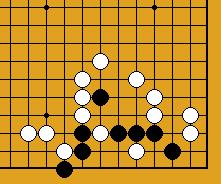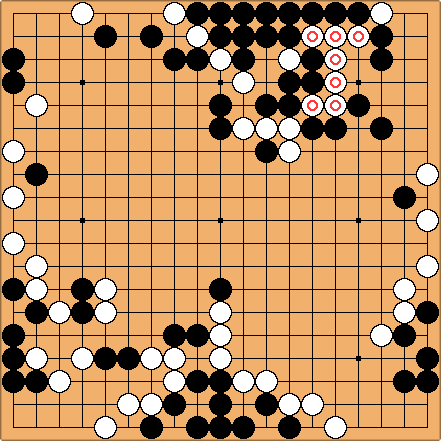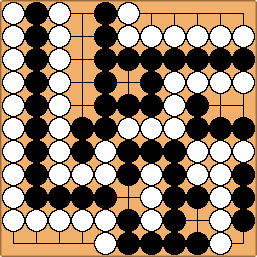
 Position 6 (later in the game) : now, what was Black answer to White attack at 126 ? Position 6 (later in the game) : now, what was Black answer to White attack at 126 ?
Solution and commentaries
III. Ladders and other incredible sequences.
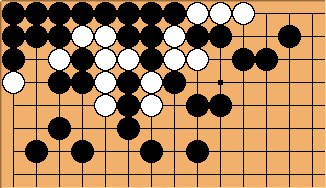
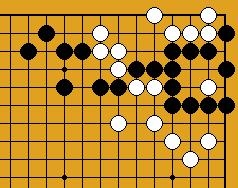
Problem 4 : White to play and live with the SE group
Solution and commentaries
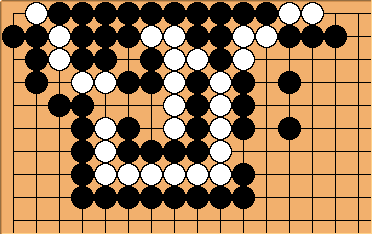
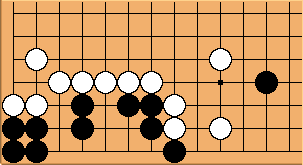
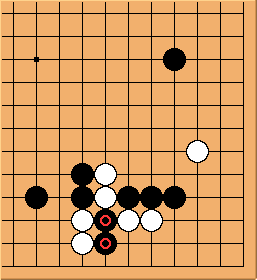
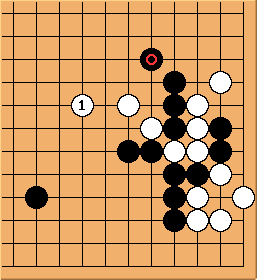
Problem 8 : White to play and capture the marked stones
Solution and commentaries
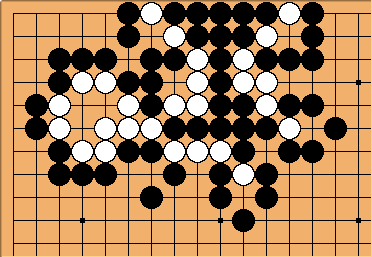
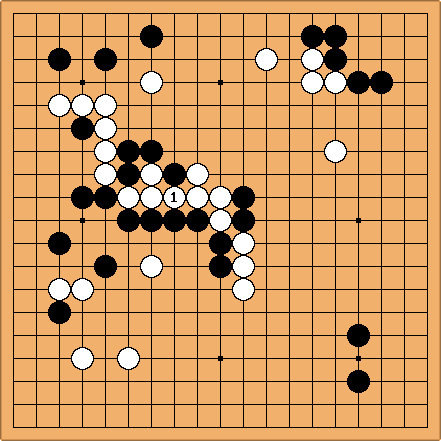
Problem 9 : White to play and save the marked stones
Solution and commentaries
(?) Problem 10 : White to play ; what happens if he tries to save the south edge group ?
Solution and commentaries

Problem 11 : White to play ; what is the result ?
Solution and commentaries
IV. Semeais, sekis and pseudo-sekis
Figure
1 : who wins the semai?
Solution and commentaries
Figure
2 : White to play ; who wins the semai?
Solution and commentaries
Figure
3 : what is the result of the fight ?
Solution and commentaries
Figure
3bis : what is the result of the fight ?
Solution and commentaries
 Figure
4 : what is the result of the fight ?
Solution and commentaries
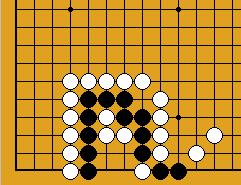
Semeai
5 : Black to play and win the race
Solution and commentaries
Figure 10 : what is the result ?
Solution and commentaries
Figure 11 : what is the difference with the previous position ?
Solution and commentaries
Figure 12 : and what is the result in this case ?
Solution and commentaries
Figure 13 : an asymmetrical seki
Solution and commentaries
Figure 14 : what is the strange relation between those three positions?
Solution and commentaries
Figure 15 : sekis or false sekis ?
Solution and commentaries
Figure 16 : what is the result ?
Solution and commentaries
Figure 17 : what say the rules?
Solution and commentaries
Figure 18 : what say the rules?
Solution and commentaries
Figure 19 : how must the fight be played ?
Solution and commentaries
V. Problems about rules.
The following positions illustrate relatively common superko situations (see here for solutions and commentaries)
|